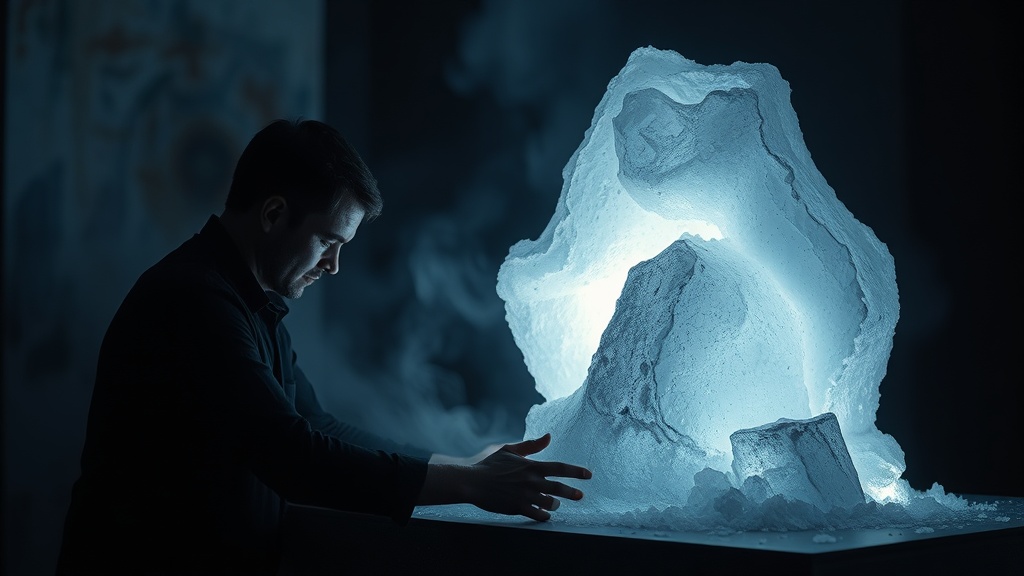
Sculpting Light with Salt and Ink

Sodium chloride crystals can manipulate the refraction of light in a way that standard pigments cannot. This technique involves using high-grade salt and pigment-heavy inks to create organic, crystalline structures on paper that mimic natural light diffusion. This guide explores the chemistry of salt-ink interaction, the specific tools needed to control texture, and the methods for layering these effects without ruining your paper. You'll find that salt isn't just a way to add texture—it's a tool for sculpting light itself.
What Kind of Salt Works Best for Art?
Coarse sea salt or kosher salt provides the best results because the larger, irregular crystal sizes create more dramatic light-scattering effects. While table salt works in a pinch, its fine, uniform grains tend to dissolve too quickly into the liquid, leading to a flat, muddy look rather than a textured one.
I've experimented with everything from fine-grain Himalayan pink salt to heavy industrial salts. The goal is to find a grain that sits on top of the wet ink long enough to leave a "ghost" or a crater once it's brushed away. If the grain is too small, it disappears. If it's too large, it might tear the fibers of your paper.
Here is a quick breakdown of common salt types for your studio:
| Salt Type | Grain Size | Visual Effect | Best Use Case |
|---|---|---|---|
| Table Salt | Fine/Uniform | Subtle, grainy texture | Light washes or subtle gradients |
| Kosher Salt | Medium/Irregular | Defined, organic shapes | Mid-tone depth and texture |
| Sea Salt (Coarse) | Large/Jagged | High-contrast "explosions" | Dramatic highlights and light sculpting |
Don't forget that salt is hygroscopic—it literally pulls moisture out of the air and the ink. This means your working time is much shorter than it is with standard watercolor. If you're working in a humid environment (like a basement studio in Austin during July), the salt might behave unpredictably.
How Do You Apply Salt to Ink Without Ruining the Paper?
You must apply salt to a wet, saturated ink wash rather than a drying one to ensure the crystals can interact with the pigment. If the ink is too thick, the salt will just sit on top like a pile of sand; if it's too thin, the salt will dissolve instantly and leave no trace.
The trick is timing. You want the ink to be "juicy"—meaning there is enough liquid to allow the salt to sink slightly into the surface, but not so much that the paper becomes a swamp. I usually use a heavy-weight hot-pressed watercolor paper to handle the stress of the salt absorption.
- Prepare the Wash: Lay down a saturated layer of ink or highly pigmented watercolor.
- The Drip Test: Drop a single grain of salt into the wet area. If it sits on top, it's too dry. If it disappears instantly, it's too wet.
- The Application: Sprinkle the salt in small, controlled clusters. Avoid covering the entire page at once.
- The Waiting Period: Let the salt sit for 3 to 10 minutes. This is the hardest part—resist the urge to touch it!
- The Removal: Once the paper feels slightly dry to the touch, use a soft-bristled brush to flick the crystals away.
If you find your colors are becoming dull or "dirty," you might be overworking the area. This is a common issue when watercolor techniques are applied to heavy ink-based media. The salt can pull the pigment into a concentrated ring, which can look beautiful or completely disastrous depending on your control.
Sometimes, the salt pulls the pigment too aggressively, leaving a white void in the center of your work. If that happens, don't panic. You can often patch the area by layering a much lighter, more diluted wash over the void once the paper is completely dry.
Can You Use Salt with Different Types of Ink?
Yes, salt works exceptionally well with both water-based inks and highly pigmented liquid watercolors, provided the medium remains fluid. However, the chemistry changes depending on whether you are using a pigment-based ink or a dye-based ink.
Dye-based inks (like those found in many fountain pen inks) are much more prone to "bleeding" and total absorption. This creates a softer, more ethereal edge. Pigment-based inks (like heavy India ink or high-end acrylic inks) tend to create sharper, more defined "halos" around the salt crystals.
It's worth noting that if you're using a heavy, opaque ink like a gouache or a thick acrylic-based ink, the salt won't have much effect. The density of the pigment prevents the salt from "sculpting" the light. You need a translucent or semi-translucent medium for this to work. If you've already spent time building depth with transparent watercolor washes, adding salt at the end can actually enhance that depth by adding a new layer of textural complexity.
I often use a high-quality liquid ink, like those from Winsor & Newton, because the color saturation is high enough to remain visible even after the salt has disrupted the pigment flow. If the ink is too weak, the salt will just leave a white spot rather than a textured light effect.
One thing to watch out for is the "crust" effect. If you use too much salt or leave it on too long, the salt can actually crystallize into a hard, white crust that is difficult to remove without a knife. This isn't a texture; it's a mistake. Use the salt as a temporary tool, not a permanent additive.
If you find yourself struggling with a muddy look, check your water quality. If your water has a high mineral content, it can react with the salt and create an unpredictable, gritty texture that looks more like a mistake than an intentional art choice.
The beauty of this method lies in the unpredictent. You aren't just painting; you're managing a chemical reaction. You're asking the salt to move the pigment for you, which requires a certain level of surrender to the process.
If the result is too chaotic, try using a smaller brush to "paint" the salt into specific areas rather than throwing it. This gives you more control over the light and shadow, allowing you to direct the viewer's eye toward the most luminous parts of your composition.
The goal is to create a sense of organic movement—something that looks like it was shaped by nature rather than a human hand. When done correctly, the salt leaves behind a shimmering, crystalline structure that feels three-dimensional. It's a way to break the flatness of the page and introduce a sense of atmosphere that traditional brushwork simply can't achieve.